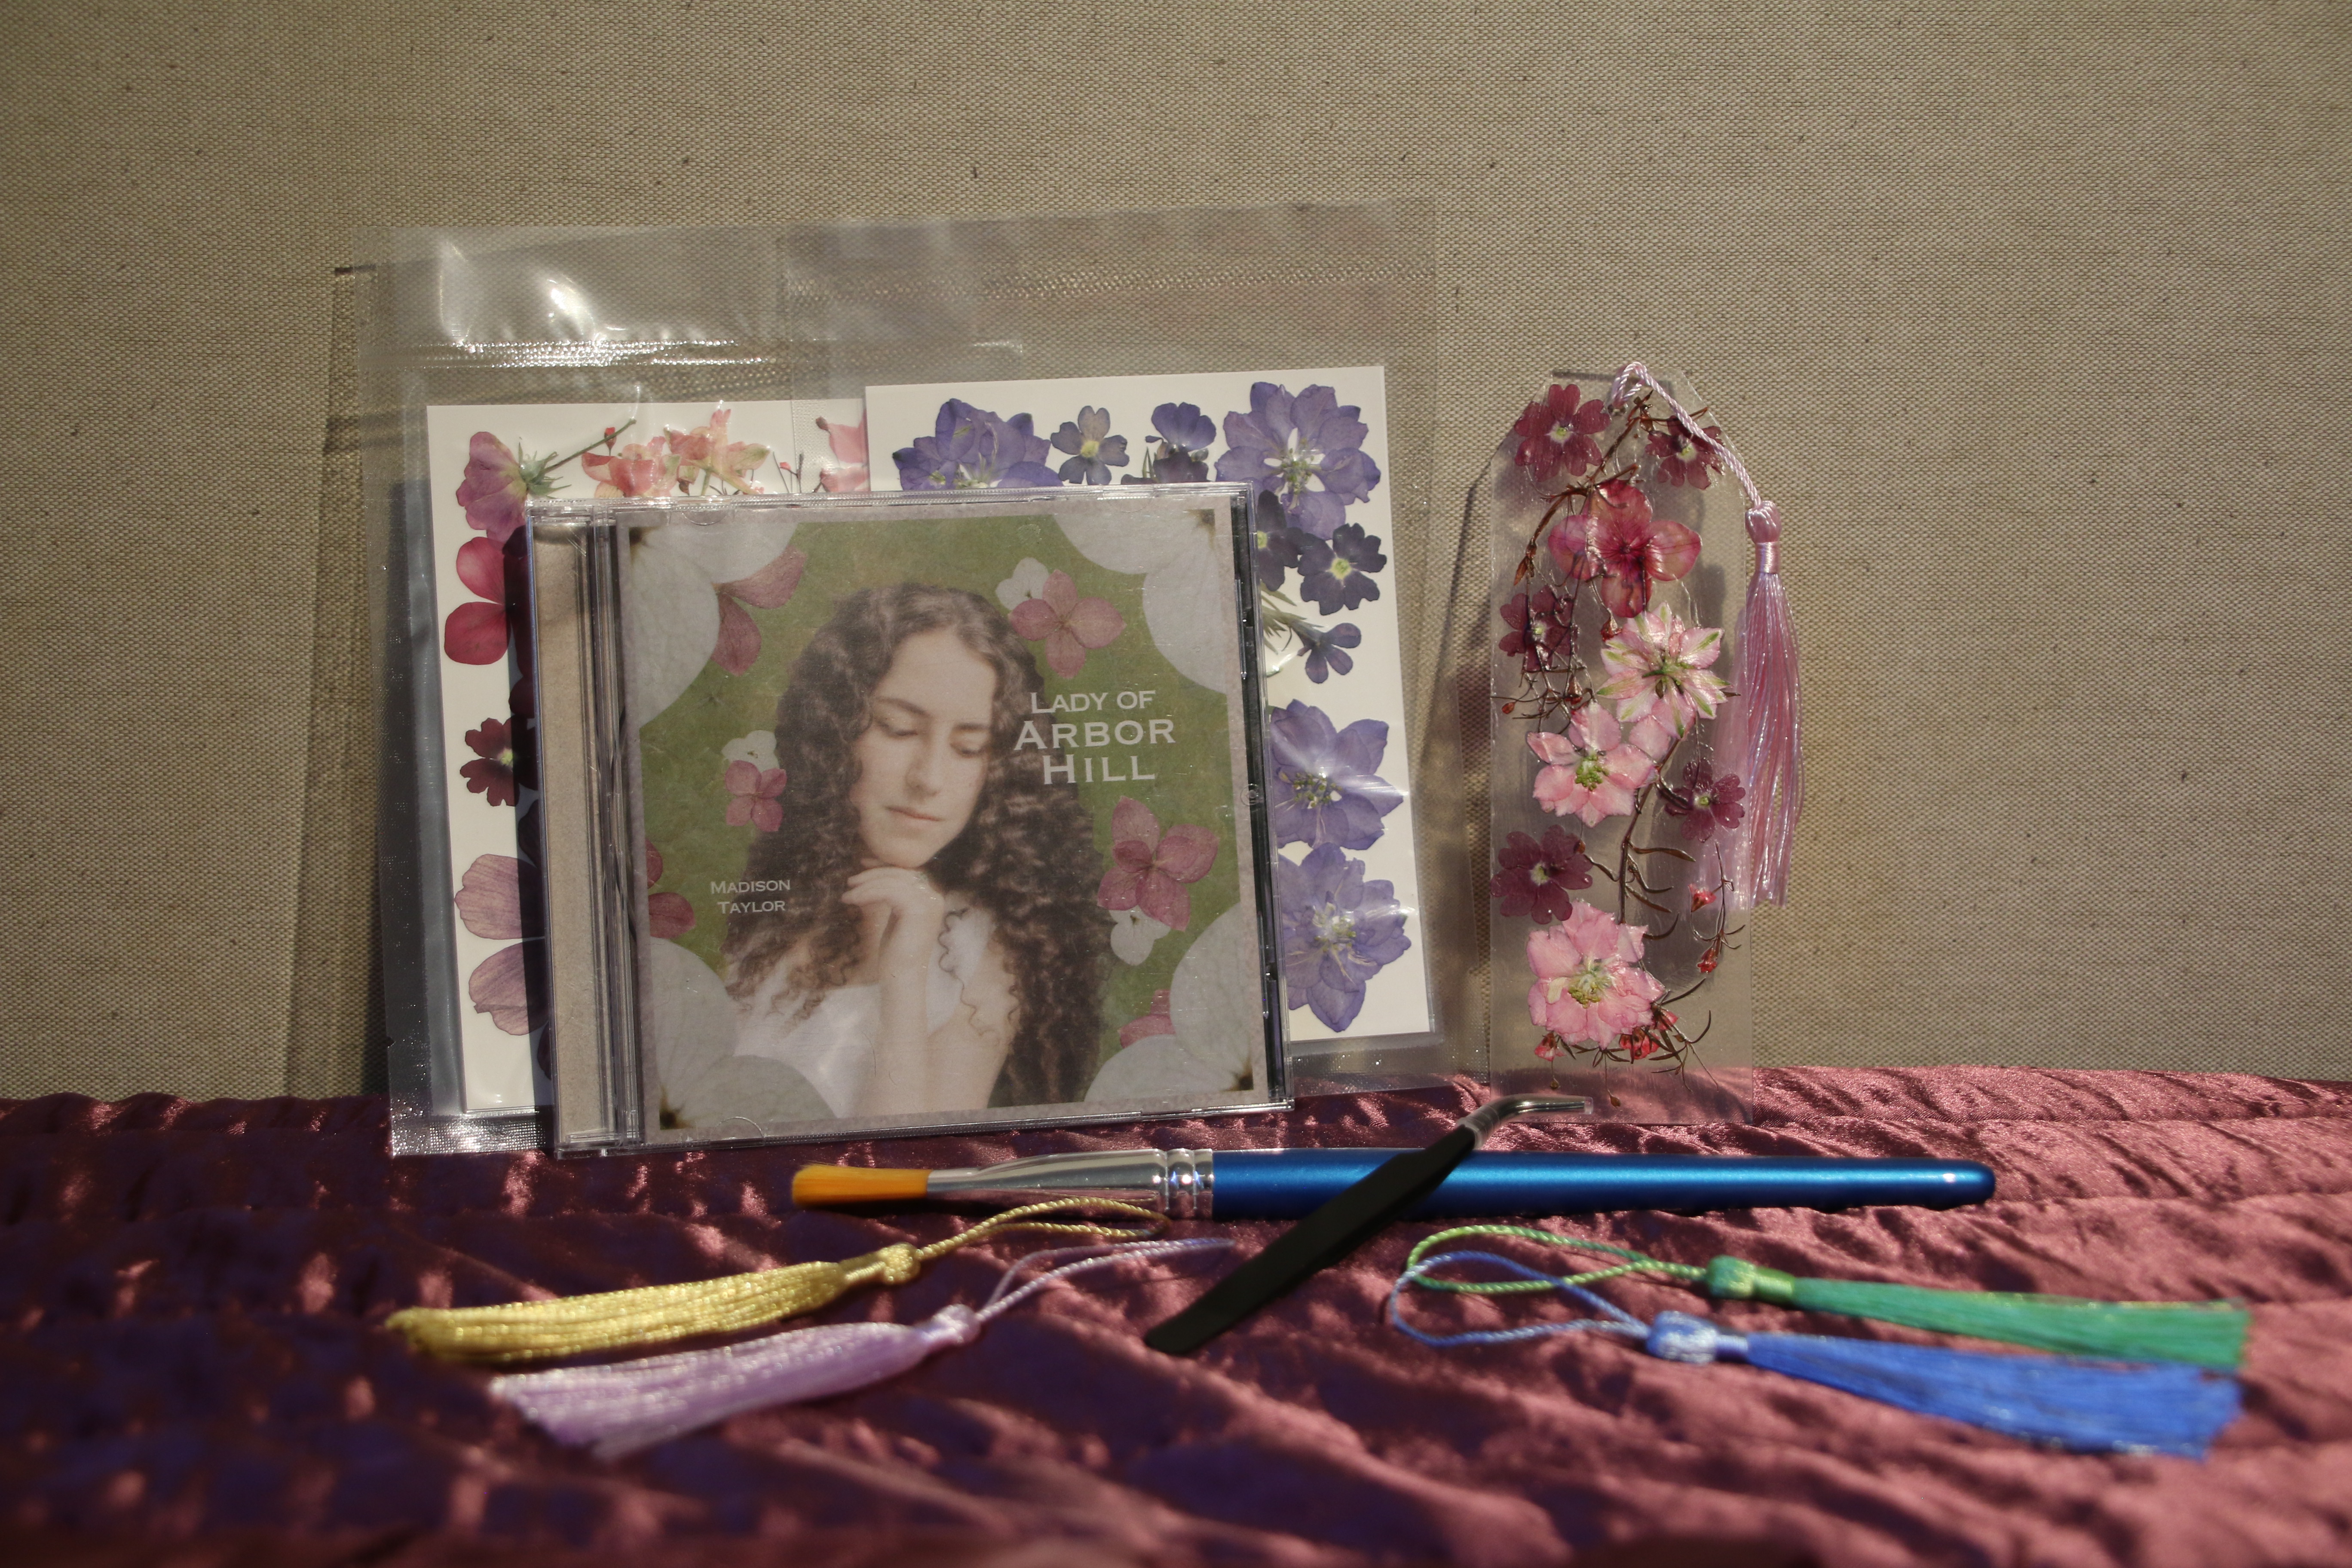
If you'd like to bring the beauty of flowers into your personal reading experience, then I have a fun craft to share with you all!
A few months ago, I was brainstorming what kind of workshop I'd like to include in my performance at Herbal Root Organics. It's an apothecary cafe in Boonton which hosts various workshops in their separate studio space. Since I was the first musician to be performing there, I wanted to honor the creative spirit of their studio by bringing some interactive craft into my concert.
I would be singing songs from my debut album, Lady of Arbor Hill, so I thought about how my craft could connect to my latest musical work. Through Photoshop, I featured dried hydrangea petals on my cover art to bring a physical element of my childhood home, Arbor Hill, where my songs were composed, into my art. That's when the idea struck - I would give others the opportunity to decorate dried flowers in an artistic way at my concert! |
| A craft inspired by my album which features pressed flowers from Arbor Hill |
Online, I researched possible crafts for pressed flowers and the idea of gluing them onto bookmarks looked the most practical. I ordered a bunch of acrylic bookmarks and Mod Podge glue to get started. It would have been ideal to use actual pressed flowers from Arbor Hill, but I was planning the craft in March when none of the flowers were blooming yet, so I ordered pressed flowers from Amazon.
When I attempted the craft for the first time, it took me less than ten minutes to complete so I knew it'd be a reasonable workshop to include after my show. I also taught the workshop at a Christian women's retreat in Ocean Grove. It was fun to see how each person uniquely arranged their flowers, and I can only imagine all the different books their bookmarks will grace the pages of!
With all that being said, the following is your official guide for making these fun bookmarks...
How to Make a Pressed Flower Bookmark
Materials:
- Acrylic bookmarks
- Dried flowers
- Mod Podge glue
- Paint brush
- Tweezers (optional)
- Tassel
Steps:
- Select 2 acrylic bookmarks. Use one as your model for where you want to place your flowers.
- Choose your assortment of dried flowers and use tweezers to delicately transfer them onto your model bookmark. (You can also use your fingers rather than tweezers to handle the flowers, but be very careful not to break them as they're very delicate)!
- On the real bookmark you're going to use, paint over it with a layer of Mod Podge glue.
- Work fast and efficiently to apply your first layer of flowers before the glue dries. (Don't worry, the glue dries clear)!
- If you have a second layer of flowers, paint over with another layer of glue and then add them on.
- Apply a final layer of glue and wait until it fully dries.
- Lastly, tie your tassel on top and place inside your favorite book!
A couple pointers:
- If any flower petals get moved out of shape, gently use the tip of your paint brush to nudge the petals back into place.
- If any flowers are not fully glued on, don't hesitate to add more glue to those specific spots. Some flowers might not be as flat as others, so you will need to give more attention to those areas. One trick is to hold your bookmark horizontally and at eye level. This will reveal which flowers are sticking up and not fully glued.
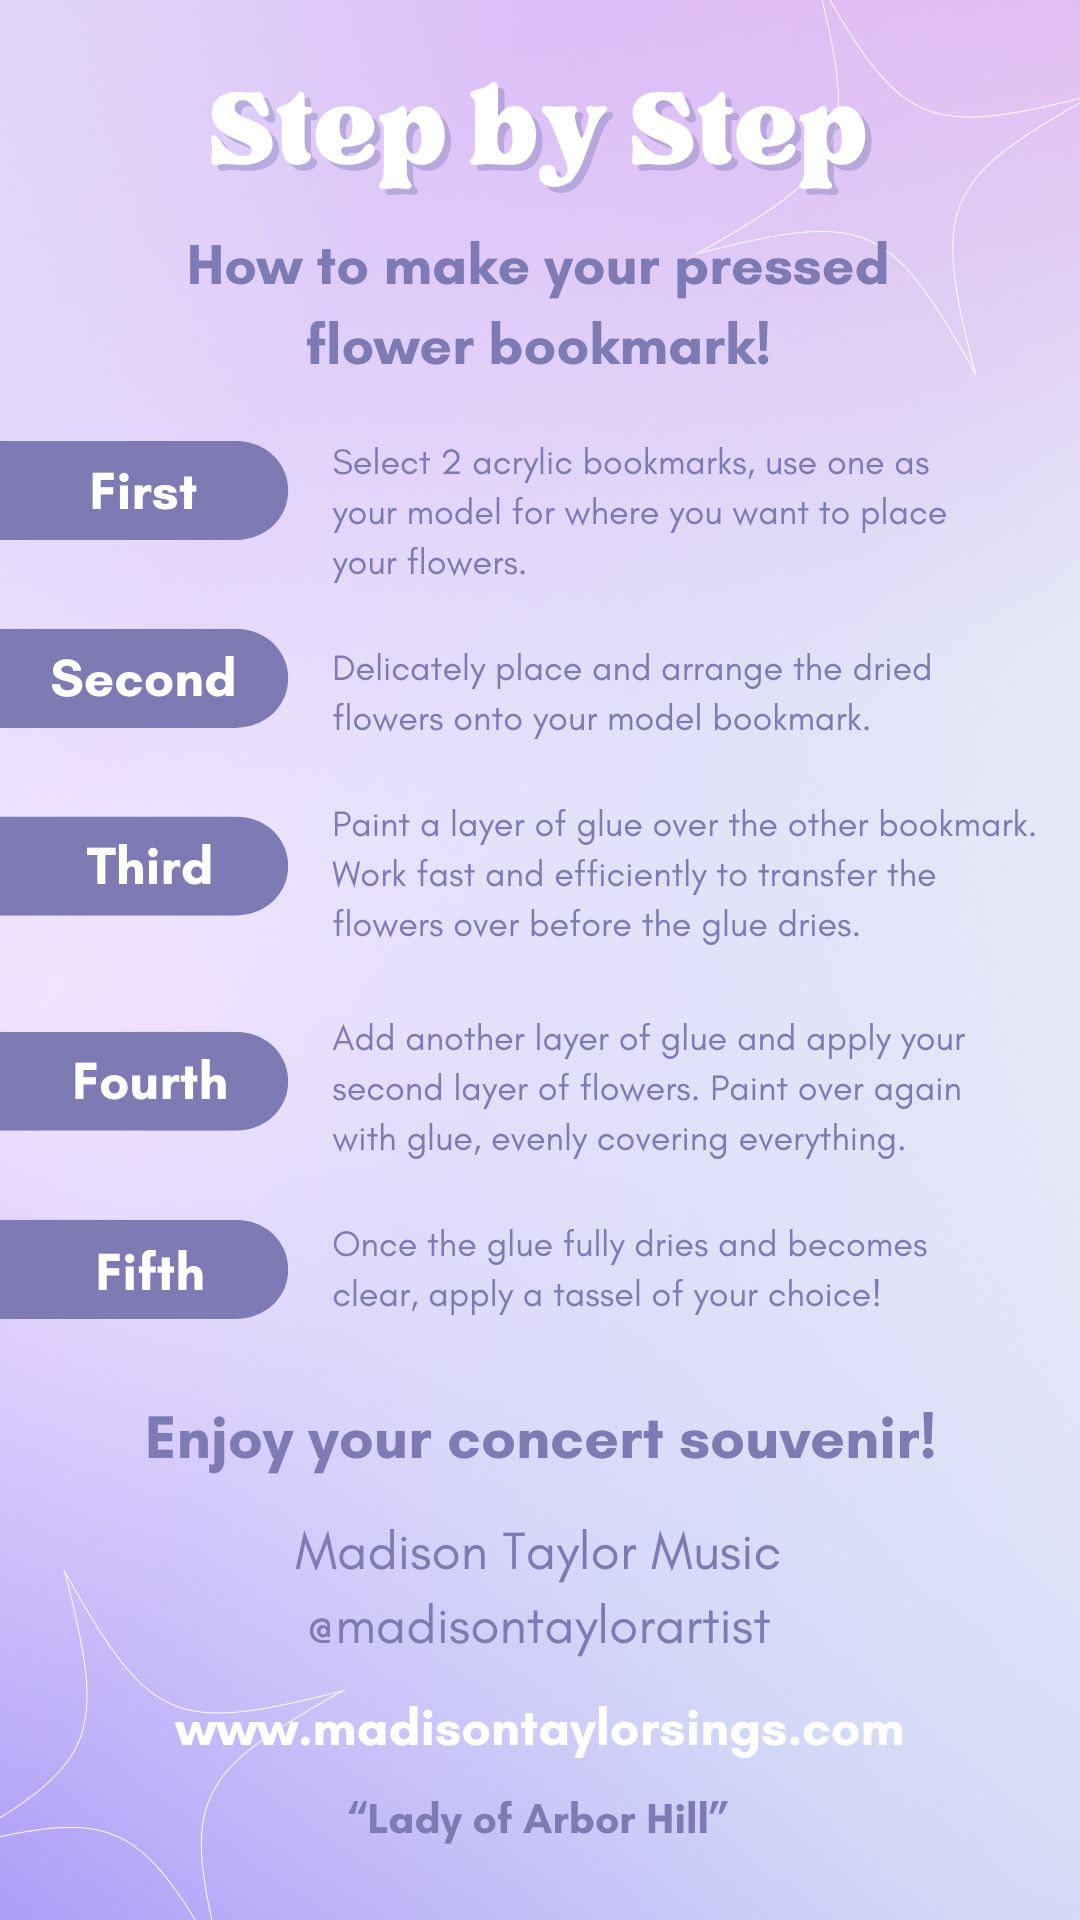
 |
| These were the instructions I provided at my concert |
If you're looking for ideas on how to decorate, here are some examples:


No comments
Post a Comment